Relocating the Drain on a Aftermarket Honda CT90 Carburetor
I recently picked up an aftermarket carb for one of my CT90's off of eBay that
is very similar in design to a Klein 556A carburetor except for one detail and
that was the orientation of the drain fitting. The drain fitting pointed
straight down verses straight back and is a common issue with aftermarket CT90
carbs.
Related Posts:
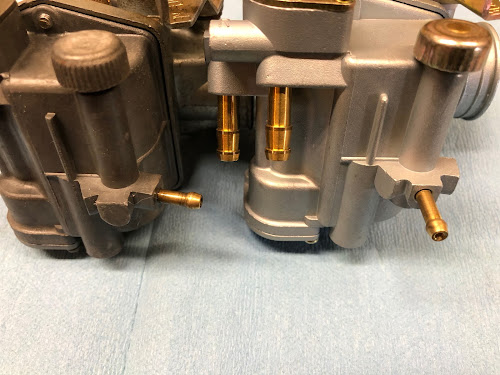
Here is a picture with the old carb on the left and the new carb on the right.

I purchased the carb off of eBay instead of fixing the old carb because it was
only $28.00 and I always wanted to try one of these carbs out. I thought
this one which I purchased from eBay seller Carbstar, was a deal as most of
the aftermarket carbs with the correct choke lever configuration were always
in the $50.00 range.
The only real issue with the new carb was that the drain was pointed down
instead of to the rear like a stock CT90 carb, so I decided to modify the carb
to relocate the drain to the correct location.
I knew that the fuel line and drain fittings were pressed and or shrink fit
into the carb body, so I figured I should be able to remove the drain fitting
by pulling it out.
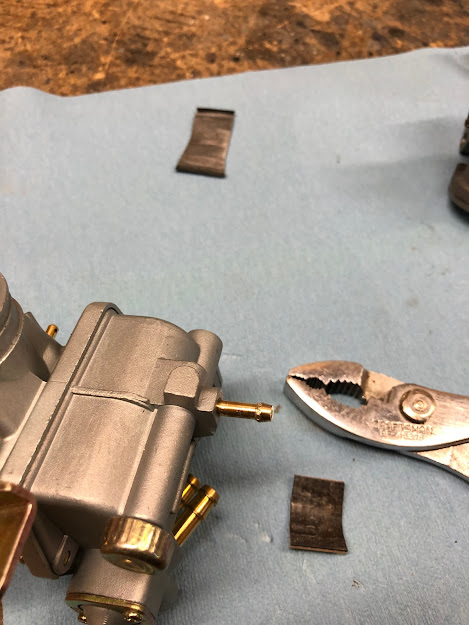
Pulling out the drain fitting wasn't going to be easy, but the way I decided
to approach removing it was using a pair of pliers and a small square of heavy
gauge vinyl to try and protect the brass drain fitting.
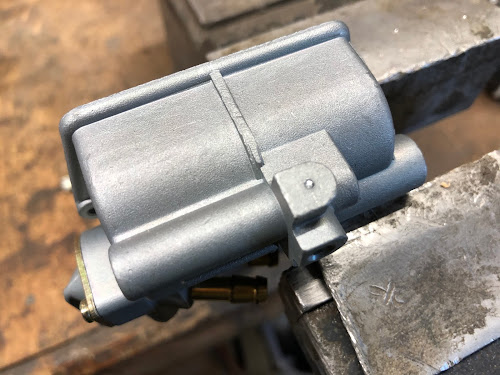
To really be able to pull on the fitting I removed the lower bowl of the new
carb and secured it in the wood working vise on my bench as shown below.
My technique was to pull had and apply a very slight wiggling motion to the
drain fitting. The drain fitting is brass so I minimized the wiggling to
avoid breaking it and with a little bit of work it finally came out.
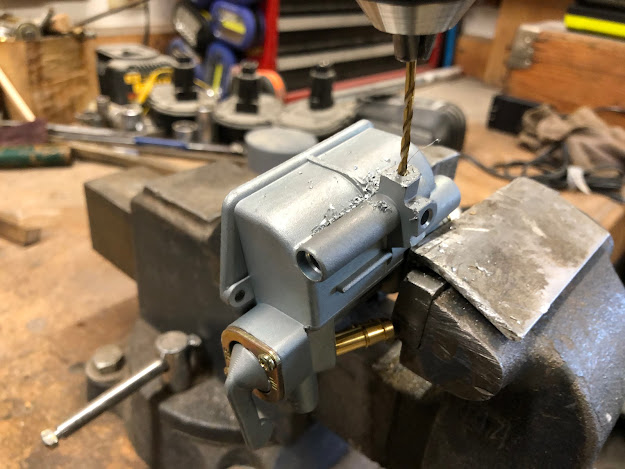
The next step was to drill the new hole at the rear location. I measured the
old hole and figured that a 5/32" bit would give me a hole that was a few
thousandths smaller than the diameter of the drain fitting, so I would end up
with an interference fit. The first step in drilling the new hole was to
remove the actual drain nob from the bowl and then use a center punch at the
location I wanted to drill my hole.
I next drilled and then chamfered the hole.
I next blew out all the passages with air to make sure all the chips were gone
and then I was ready to install the drain fitting in the hole I just drilled.
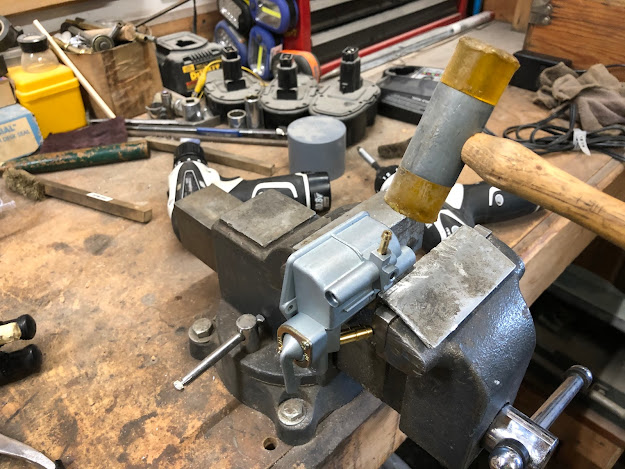
Before I installed the drain fitting I put it in my freezer for about a half
an hour so that it would cool down and shrink ever so slightly to make the
installation easier. To install the drain fitting in the new hole I just
use a plastic mallet to tap it into place so there was about a 1/4" of
engagement which is about the same as when the fitting was installed in the
previous location.
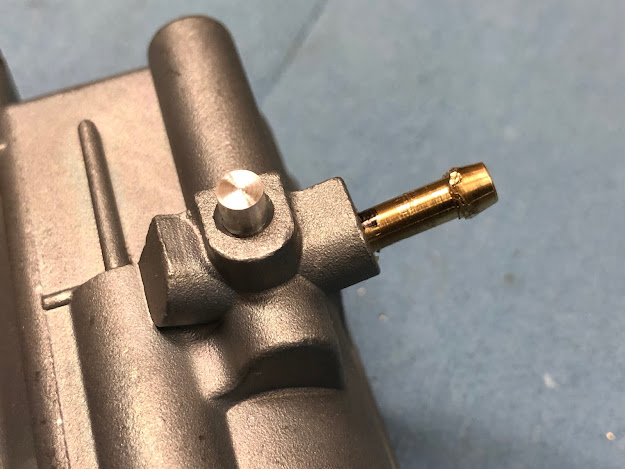
With the drain fitting installed in the new location I now needed to deal with
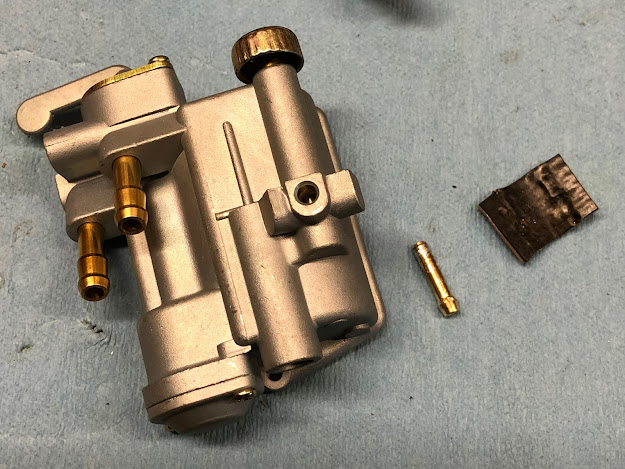
the old hole. To plug the old hole I made up a small aluminum plug like
shown in the picture below that was a few thousandths
larger in diameter than the hole and then I tapped it into place.
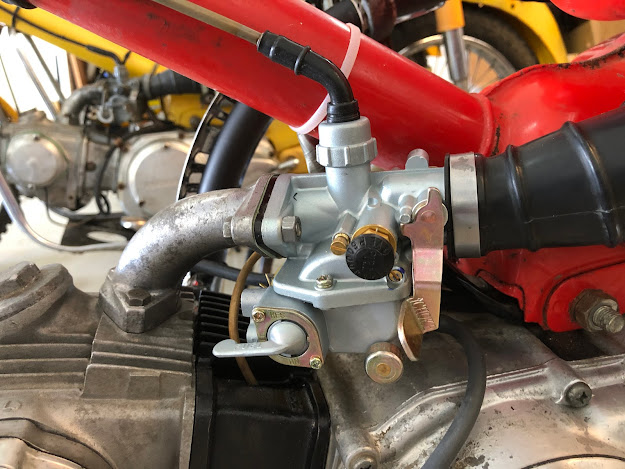
With the plug installed I reassembled the bowl back onto the carb and now the
new carb had the same drain configuration as the stock carb.
With the carb modified, I bolted it up on the CT90 the old carb came off of
and it worked like a champ and I am very happy I picked up this carb as $28.00
is only a little bit more than a rebuild kit and the modification to relocate
the drain is not really all that difficult.
I hope you found this information useful!
Helpful Links (Shop Manuals, Wire Diagram, Model Information, etc.)









I still have my 1966 CT200 that I bought when I was 14. It hasn't run in years and needs a full restoration. About 10 years ago, I bought a late '66/early '67 CT90 with the overhead cam engine. It was running at the time. Fast forward to today, I'm trying to get the CT90 running as a dry run to restoring my CT200. The carb leaks all over. Despite a carb kit I'm looking all over for the o-rings etc. for the Keihin carb and nobody seems to have them. So I bought a "K0" carb off of ebay and learned the hard way that the intake manifold and carb mounting holes didn't match. My manifold is exactly 42MM. I would just buy another aftermarket carb but I don't trust ads anymore that claim compatibility when they aren't. Advise? Thanks, Frank Baylor
ReplyDeleteGreat write up and clear photos! Thanks again Michael!
ReplyDeleteI love this. As much as I love my original carb, I've never been able to tune it just right. I'm going to try 1 more time before I give up. I've used the aftermarket ones that are slightly different because of the drain. Do you have a recommendation on making the plug? I don't have a lathe or anything that could help me make a perfect plug like you did.
ReplyDeleteSo happy I found your blog. Great work!
ReplyDelete